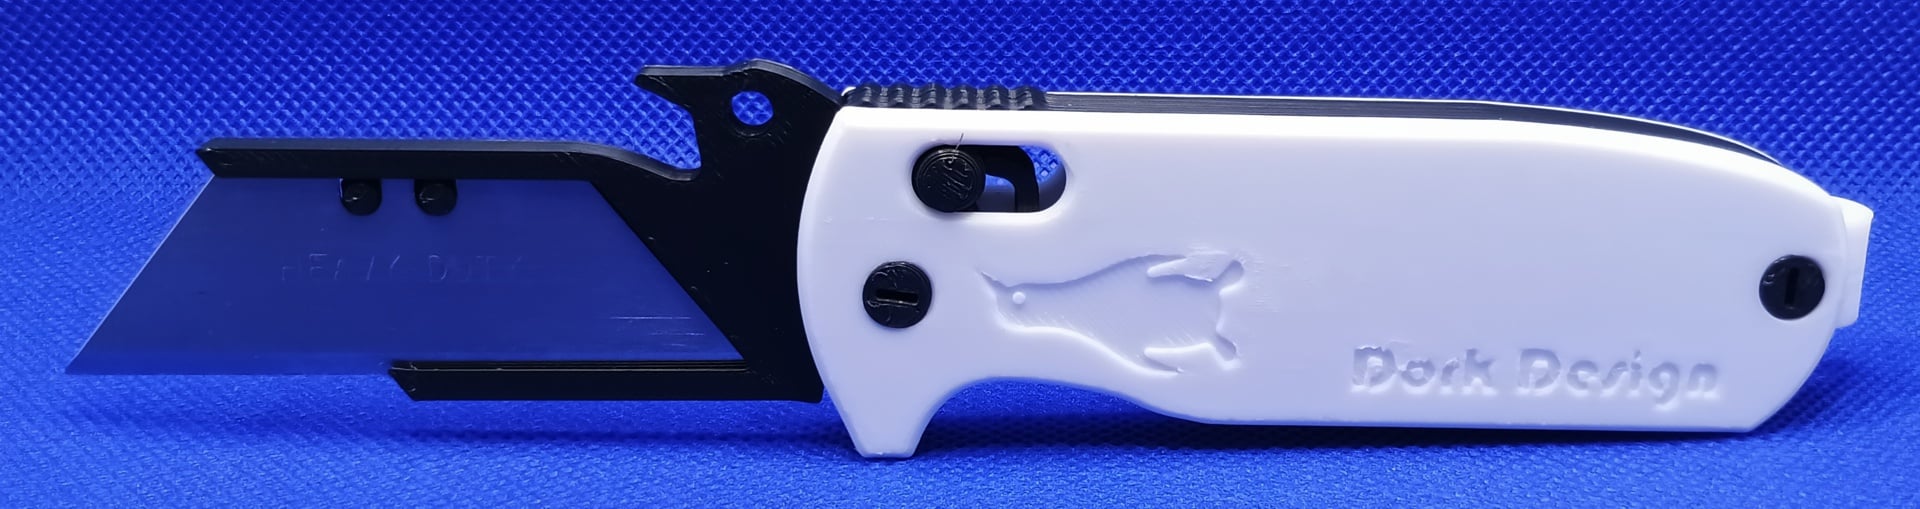
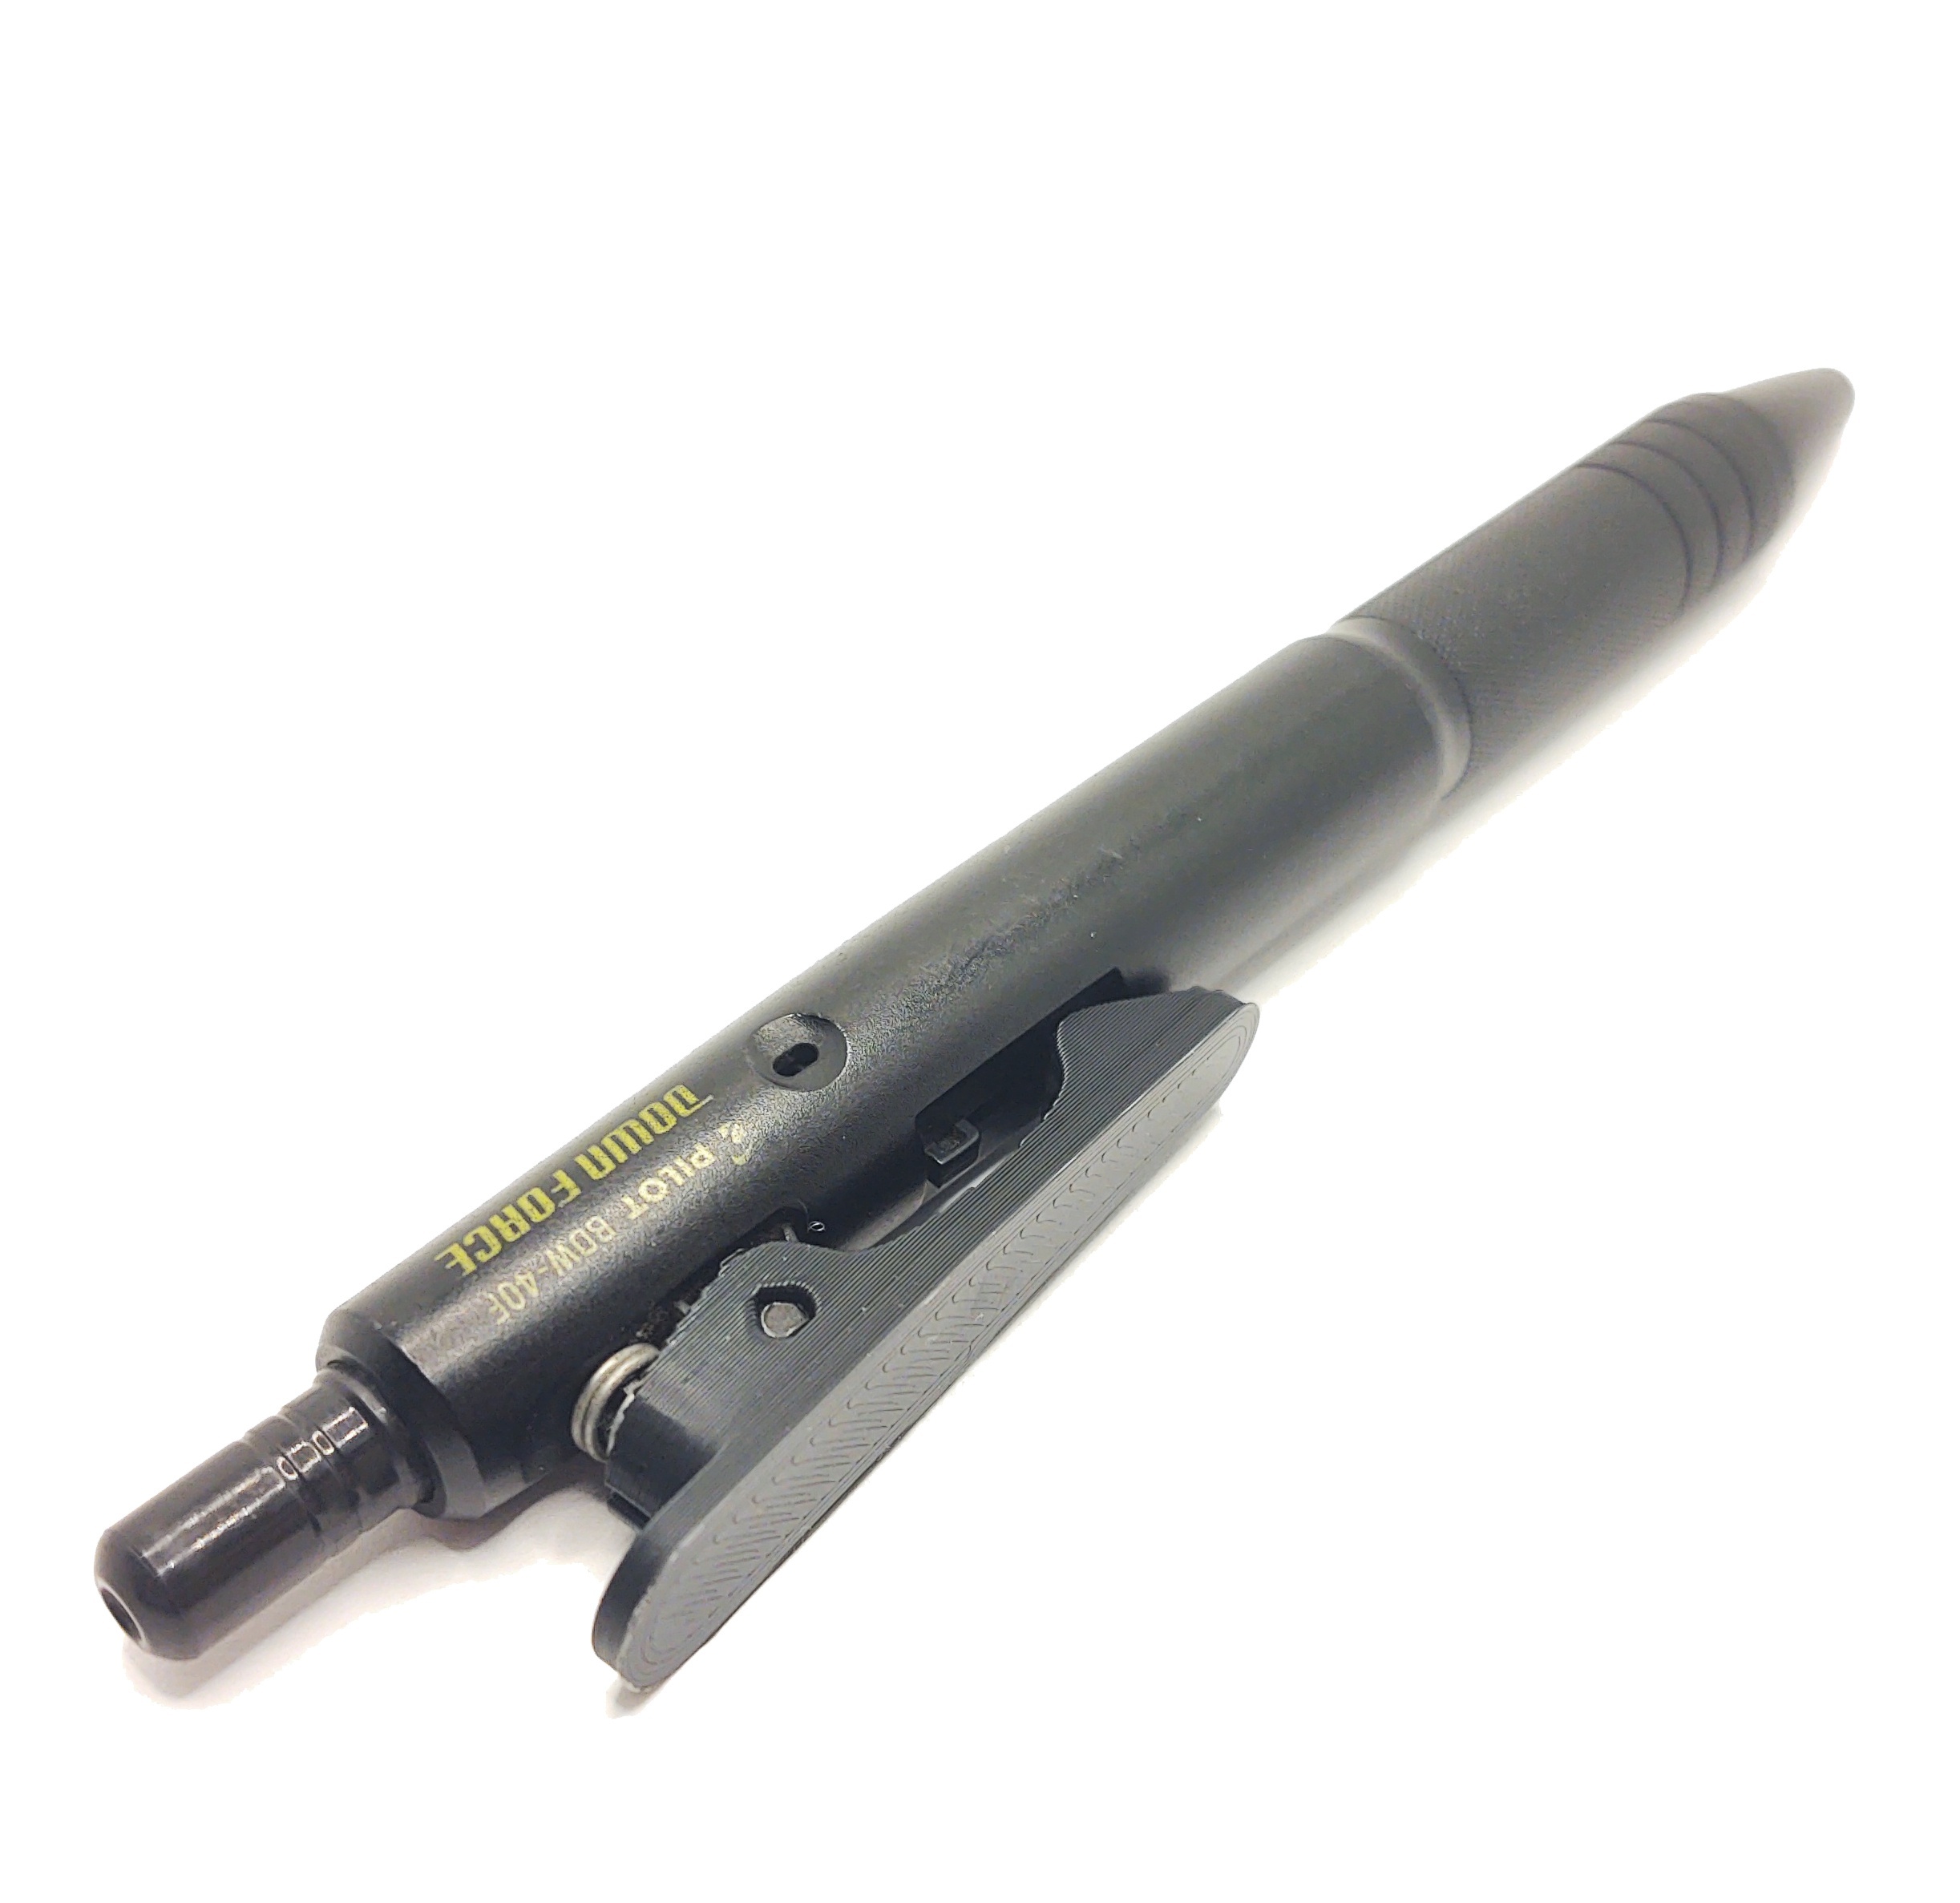
Progenitor of the Weird Knife Wednesday feature column. Is “column” the right word? Anyway, apparently I also coined the Very Specific Object nomenclature now sporadically used in the 3D printing community. Yeah, that was me. This must be how Cory Doctorow feels all the time these days.
- 20 Posts
- 198 Comments

 2·5 days ago
Back in the day I saw people making attempts at this with gimcrack setups involving household irons. Your method is probably better.
Well, they’re MSRP’ing for $199 at the moment if you don’t spring for the AMS Lite filament changer thingamadoo. To be fair that’s less than several pocket knives I own are worth. I’m not a fan of Bambu at all, but I think you could wind up with far worse for not much less money…
90 degrees was the spec for this job. 240 is way too high.
And, I don’t own a hairdryer. (Or much in the way of hair, these days.) But I do own a 3D printer…
No. It’s a Moto Z4, which is compatible with Motorola’s “Mods” ecosystem which are a variety of accessories you can stick to the back. For data transfer they connect to those pads via pogo pins.
There are battery extender backs (which I have), a full-on gamepad case (which I also have) and also a 360 degree camera, a backplate that adds wireless charging, a mini projector, a beefed up speaker back, and an entire replacement Hasselblad camera you can stick on it as well. There was going to be a slide out physical keyboard module, too, which unfortunately turned out to be vaporware.
Has anyone else found a use for their 3D printer that wasn’t exactly listed on the label?
 59·29 days ago
Was it actually him? I was under the impression that history did not relate what happened to him afterwards, nor who he was. That’s not to say the CCP did not murder a couple of thousand people during the crackdown regardless, because they did, but I have never seen a verifiable claim that a picture of any particular corpse actually was the Tank Man. There are numerous theories I’ve seen floated over the years alleging what may have happened to him afterwards ranging from him being caught and imprisoned, executed, living anonymously in China, or fleeing to Taiwan. All of them are unverified and, of course, mutually exclusive.
The tank operators absolutely did attempt to (and succeeded at) avoid running him over. That much is plainly visible in the video. Whatever happened after the video ended is undocumented and pure conjecture. Plenty of well documented atrocities actually were committed that day, before and after that moment, so there’s not much sense in inventing new ones and bickering over details we haven’t actually got.
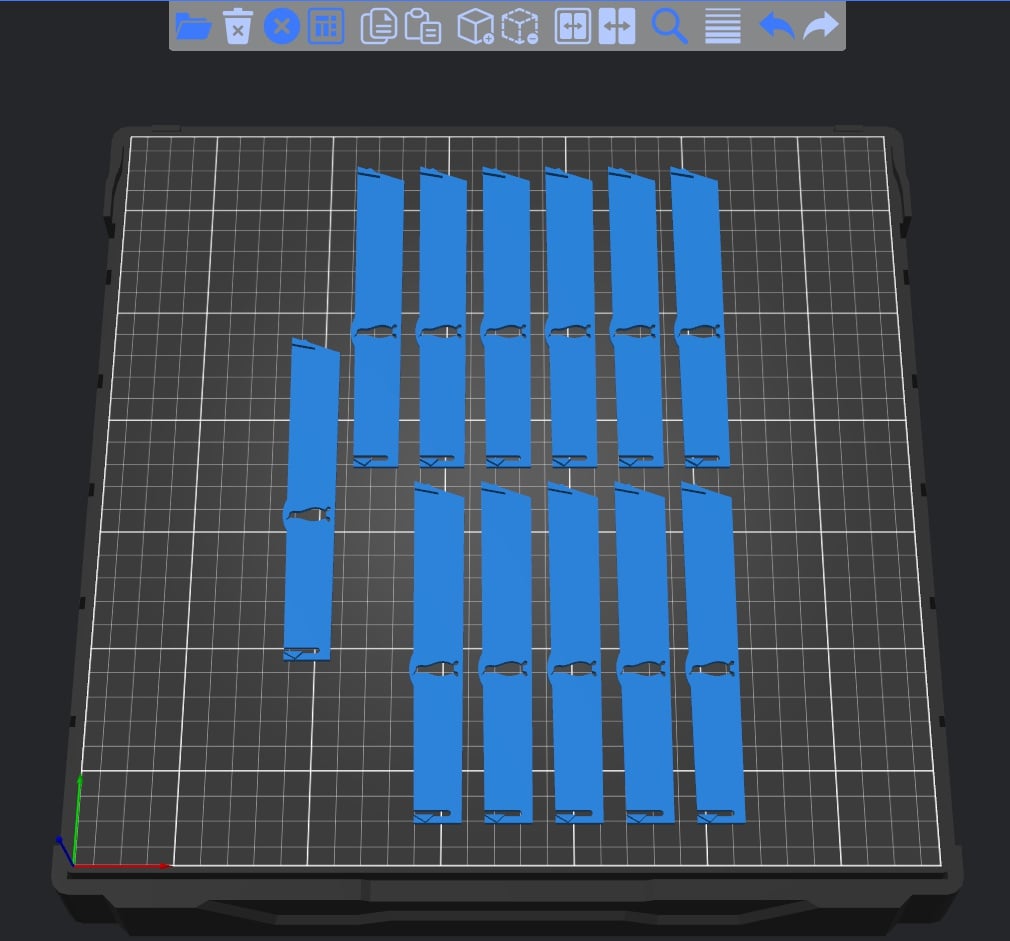
There are various tricks I could think of, but in Slic3r/Prusa/Orca/etc. I think I would just do an auto arrange on them with the spacing set to zero.
I think the chamber heater will go as high as 90, although for ABS the slicer warns me not to go higher than 60. It is PID controlled so you can set a specific temperature setpoint. And if my thermal camera is to believed it’s pretty consistent. The good news is also that it can heat the chamber to 55 or 60 in just about ten minutes.
If you have that much warp you either have a temperature gradient problem, i.e. your enclosure is not enclosed, not retaining heat, or is too cold, or in extreme cases you have a part that’s just not going to work with FDM printing in ABS or ASA (or probably nylon or polycarb either, at that rate). I think you were on the right track with your initial assessment.
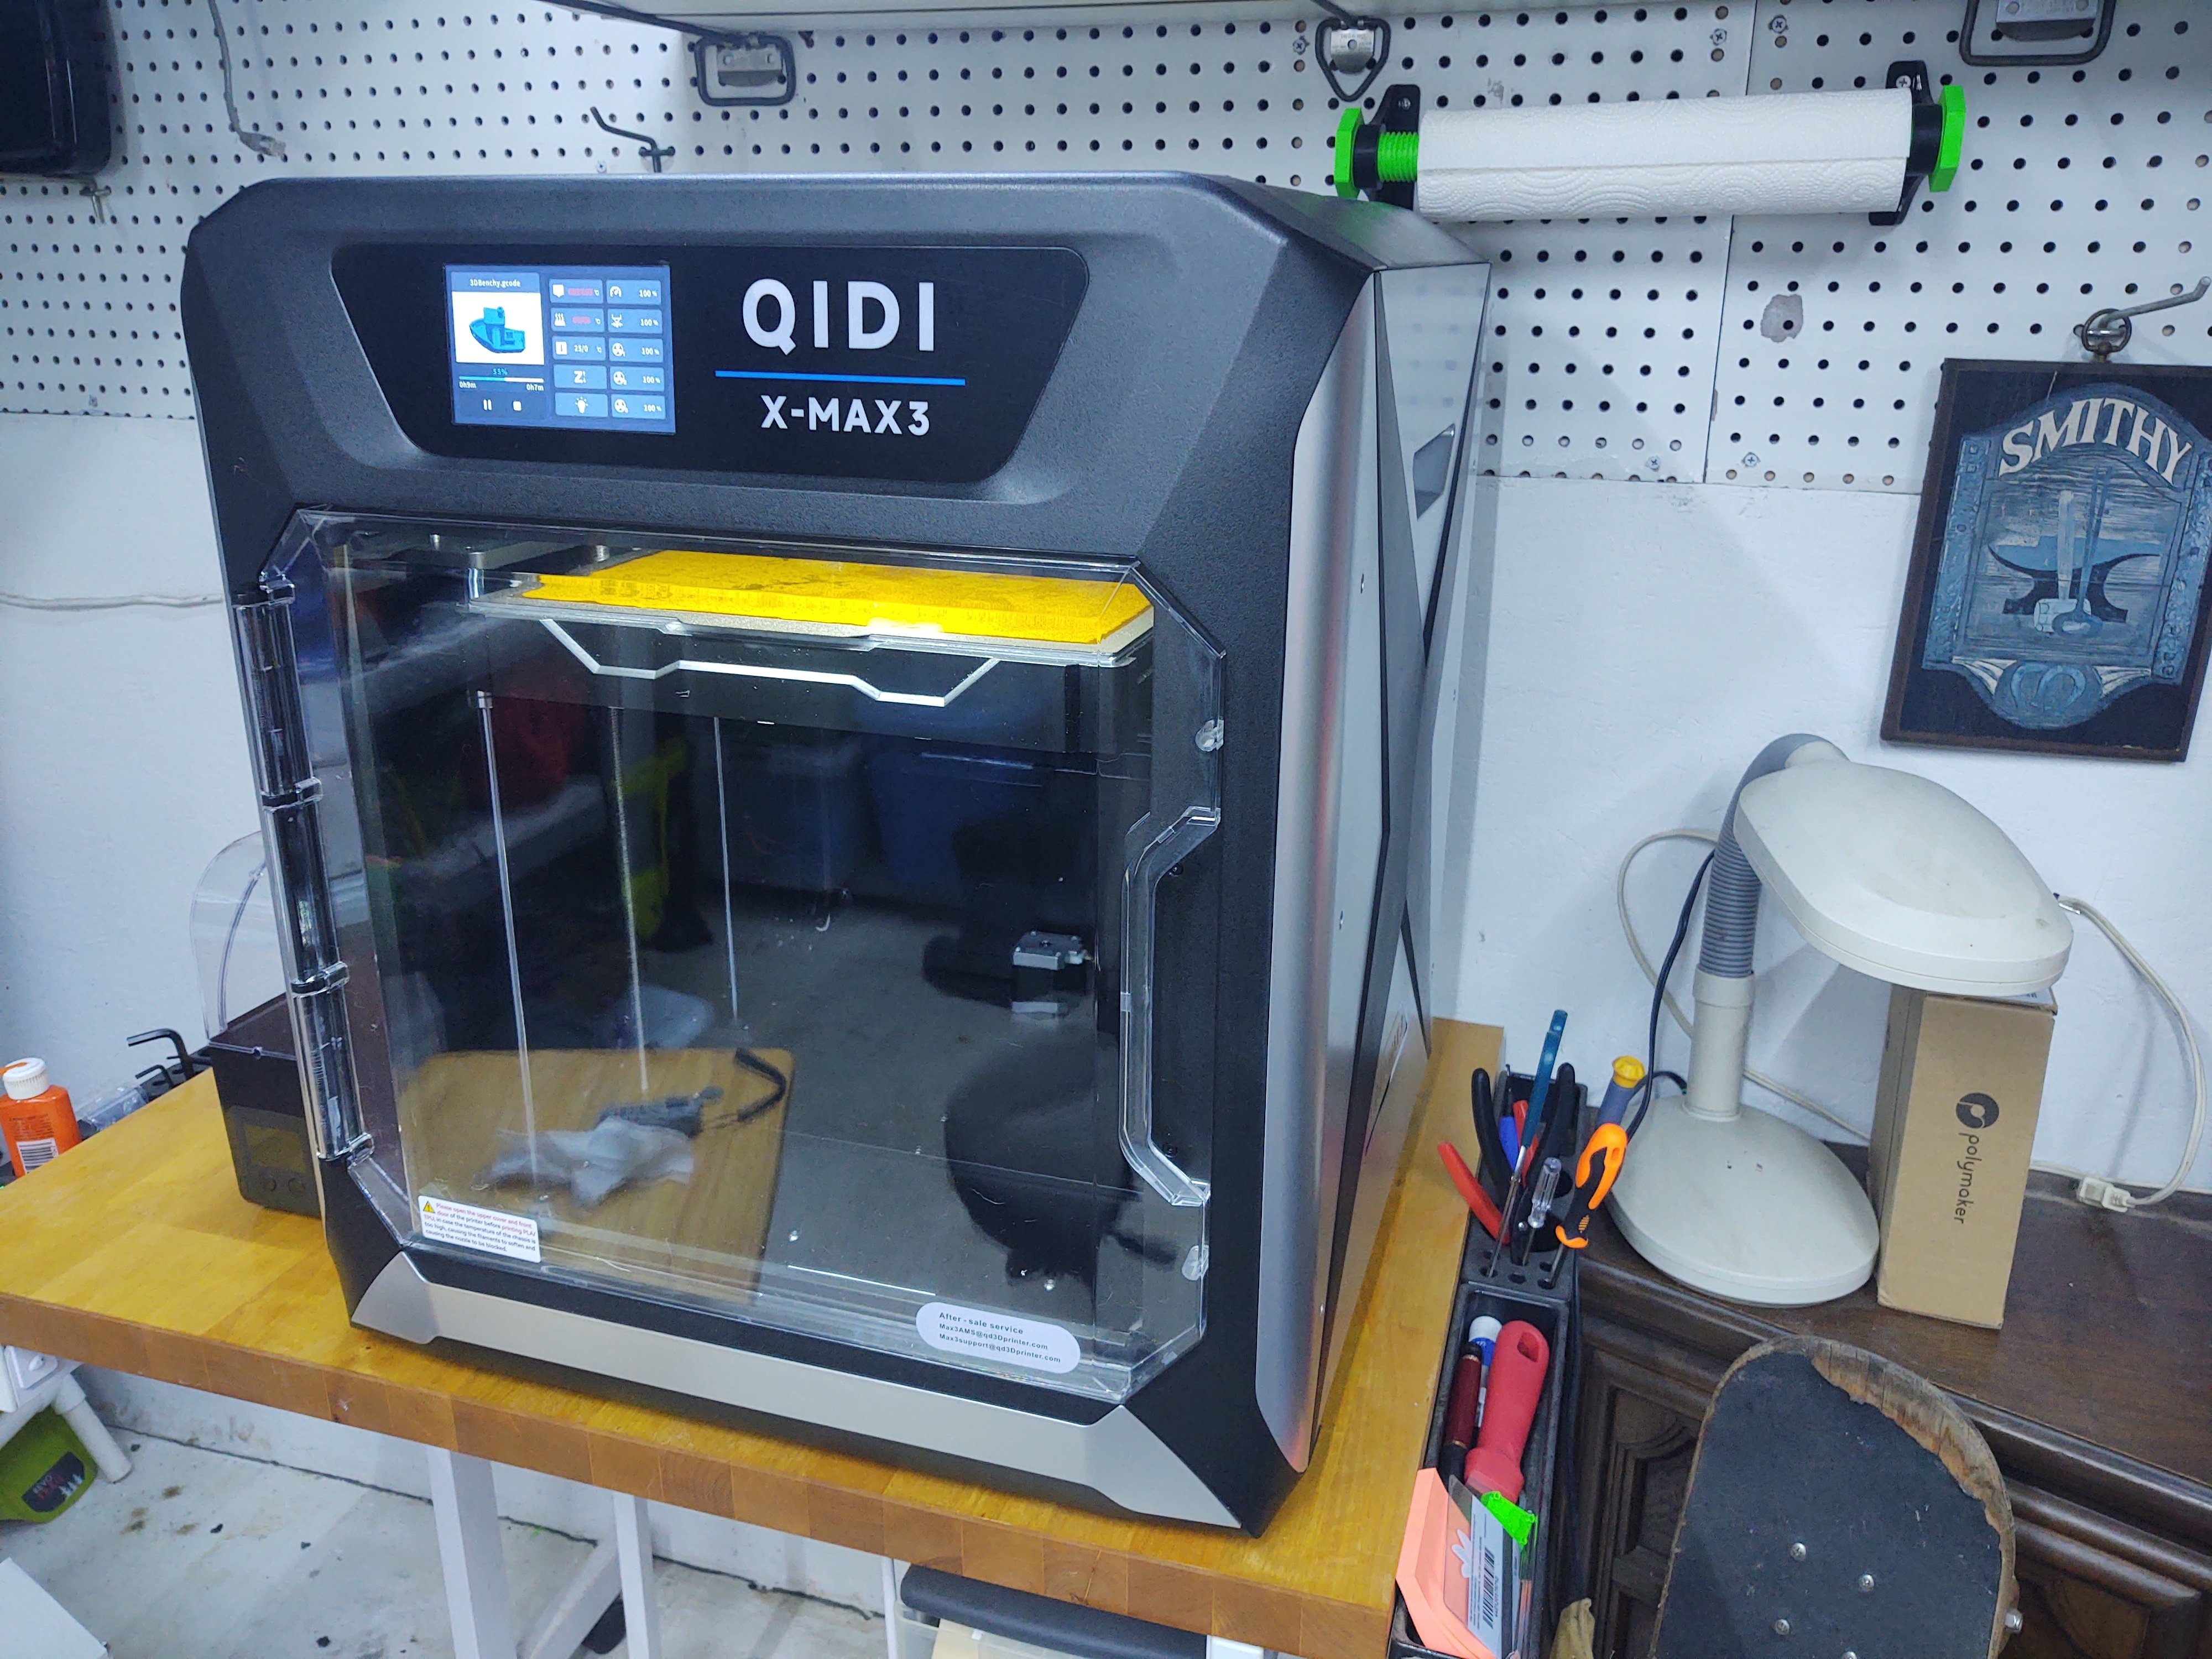
Do you have a build chamber heater? My Qidi has one, and I feel like it’s basically cheating. Especially compared to my last printer. It allows me to Just Print with ABS without any of the prior nail-biting or headaches. It feels kind of weird.
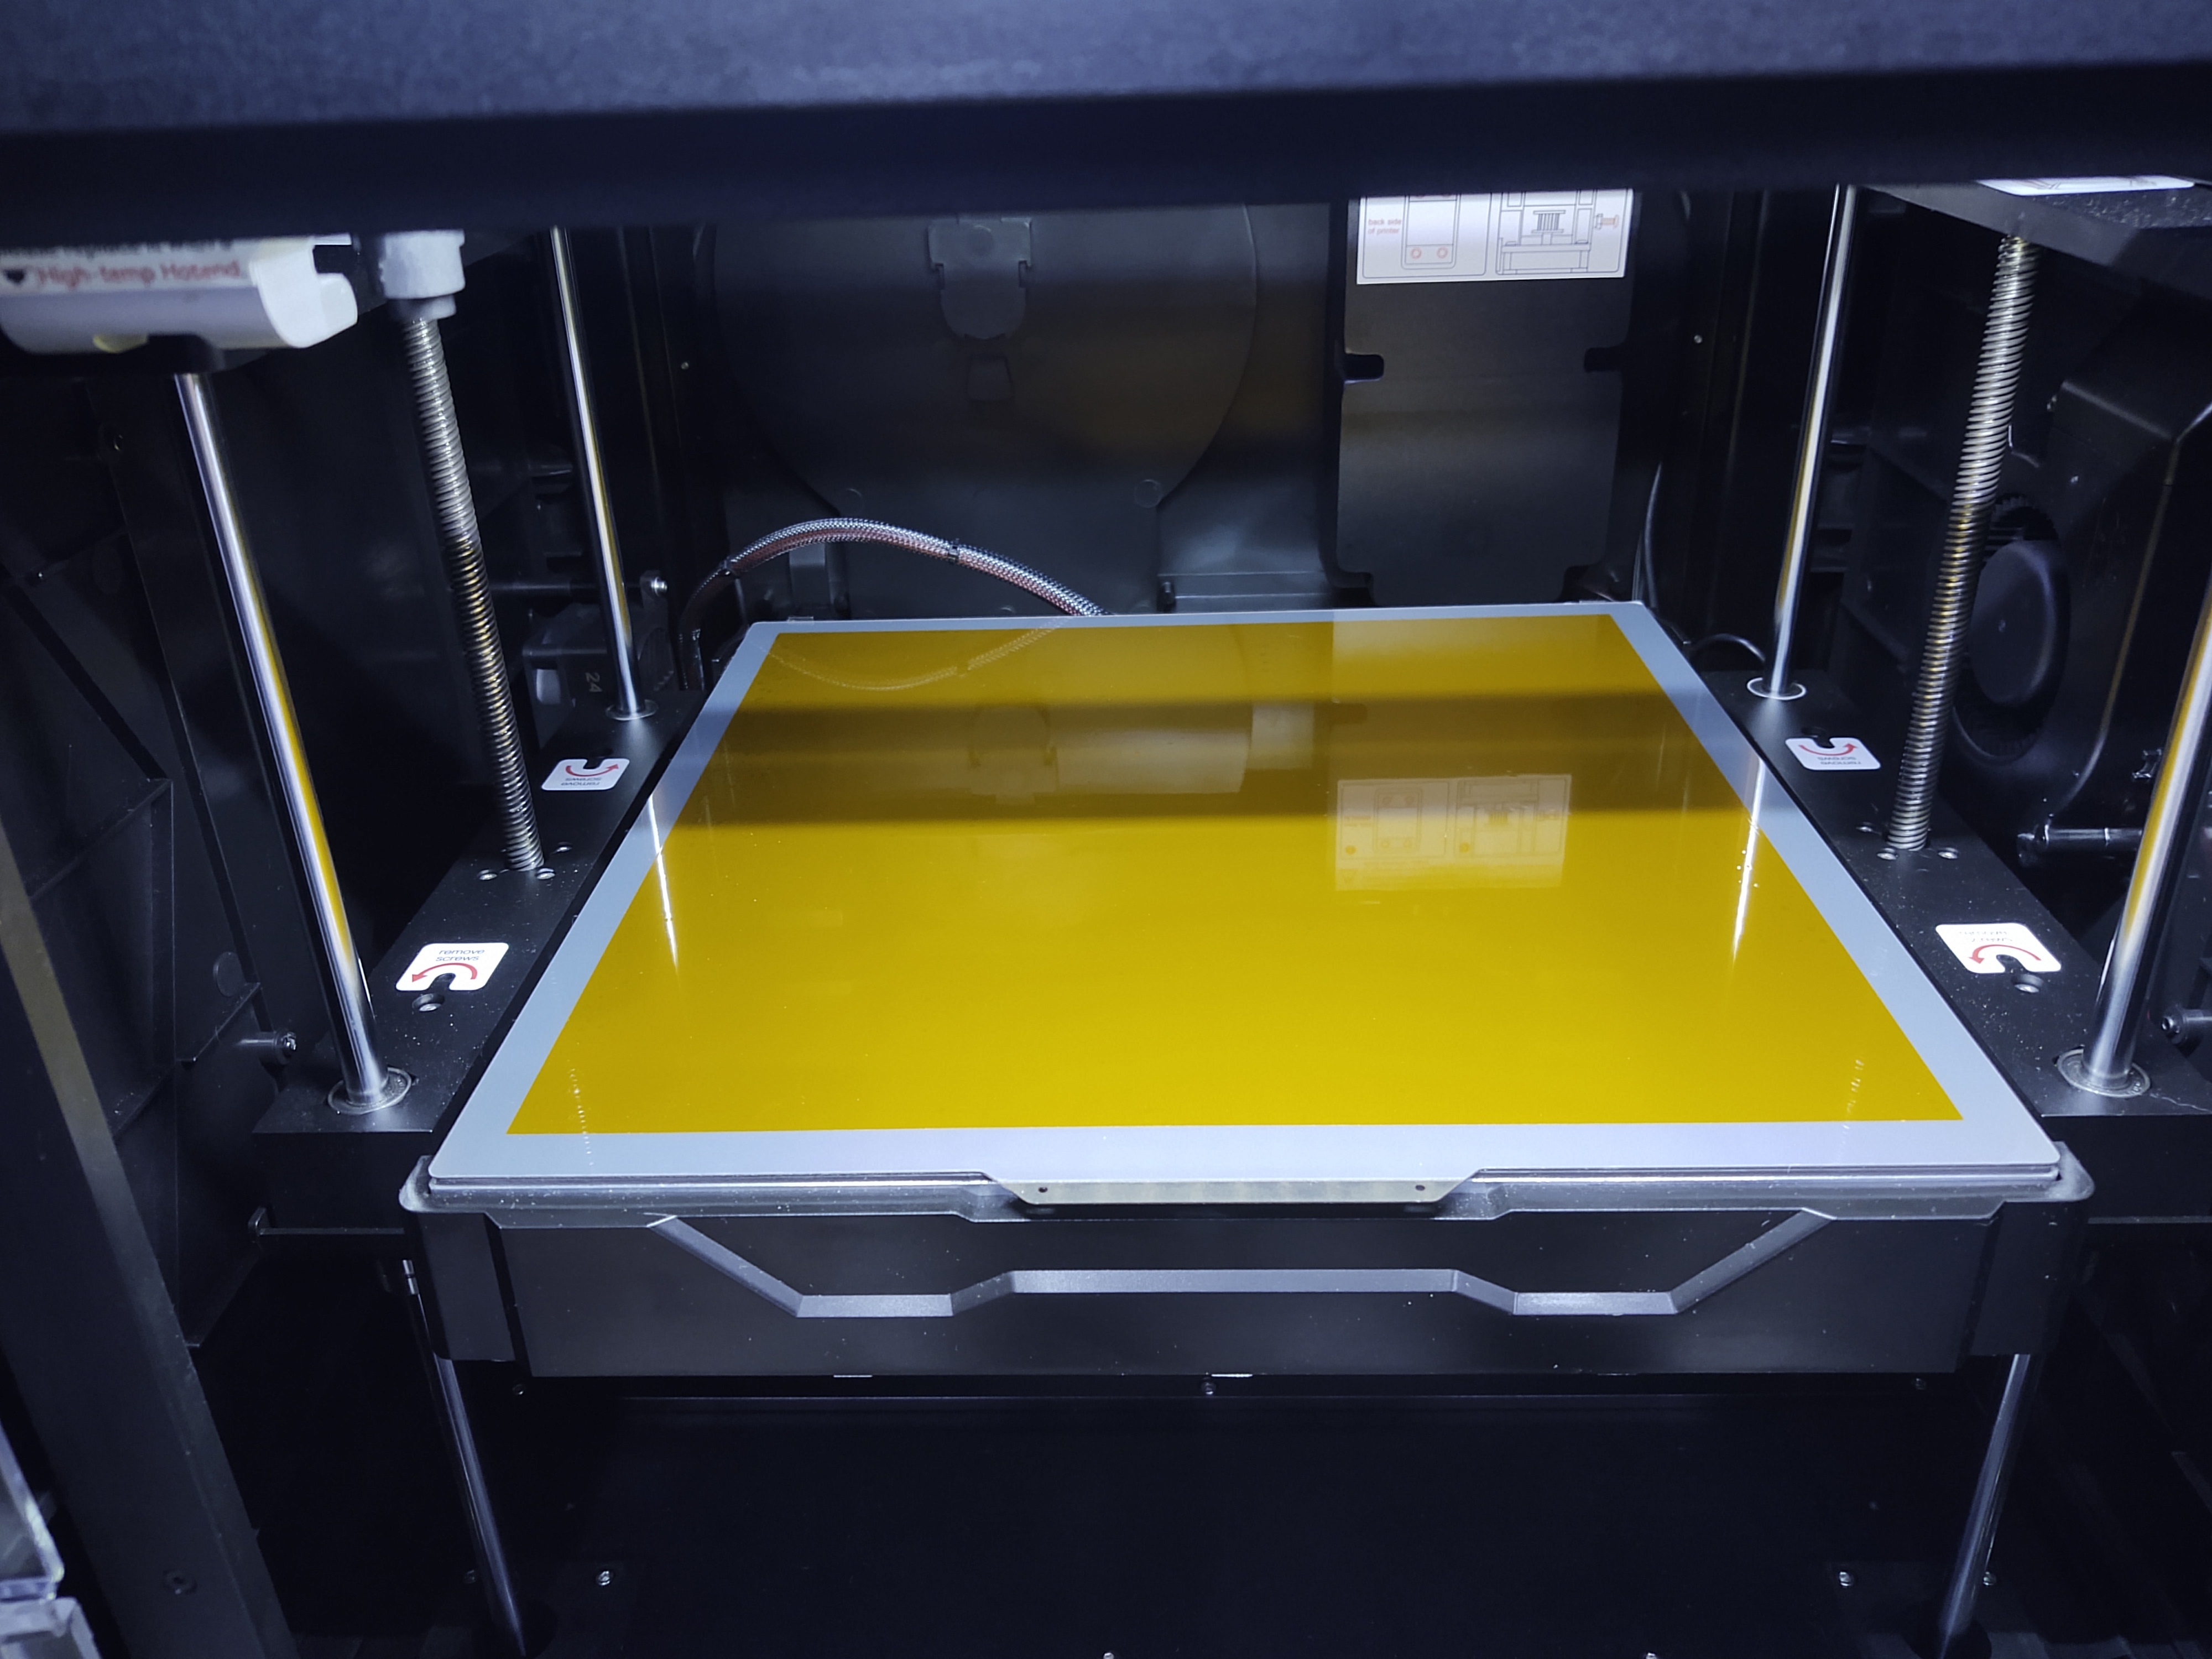
I put the build plate in place as normal, but with a layer of kapton tape applied to it. (My printer won’t work without the steel build plate installed; my Z home sensor is magnetic.) In my case, I have a smooth backed one that doesn’t have the texture on it. You can apply it over the textured side of your build plate, too, but it gives you a resulting bottom surface that’s kind of weird and lumpy.
Kapton tape will work in a pinch, but covering your entire build plate with it is a pain in the ass with all the seams between each strip. I get big sheets of the stuff like these ones, and do it all in one shot. You can pretty easily trim them to fit whatever size your printer’s built plate is.
Remember to readjust your Z offset after you apply the tape because you’ll have to account for its thickness.
glue to the base
Por que no just fuse them together in your slicer and print as a monolithic part? You could probably even skip the base and just arrange the four bins together.
When I print ABS/ASA, I print it on a kapton sheet with hairspray as an adhesion aid. My printer (X-Max 3) does have an enclosed and heated chamber as well. I have not had an issue with getting parts off after the build plate has cooled. However, the addition of the kapton sheet means that the nuclear option is always available: Peel the sheet off along with the part, and put down a new one.
They cost like 50 cents each in bulk. The skinflint in me prickles at this, but that’s a lot cheaper than having to replace a borked build plate. I have not had to do this with my current printer, but I did with my old one once.
I generally do them by locating the center point, constraining the radius, and then the angle. The angle tool is a little janky specifically on arcs, but it does work. Or if the ends of the arc are fixed to something also immovable, you can just do the radius and angle and use the coincident constraint to stick its endpoints to the ends of other lines and leave the center point alone.
Yours was an interesting approach. I probably would have used a bezier for the pointy end of the heart.
Honestly even at this price point I don’t see much use for a machine like this for hobbyists. Plastic SLS printing only has a few advantages over the significantly cheaper and widely supported FDM machines most of us use. SLS printers can create overhangs and do “print in midair” tricks that FDM can’t because the partially completed part is supported by the unfused powder, and they theoretically produce parts that are isotropic, i.e. there is no difference in layer vs. planar adhesion and they are as strong in the Z axis as they are in the X and Y. This might matter for mechanical parts, but it’s not terribly important for the vast majority of people who are just cranking out low-poly Pikachus and Deadpool busts or whatever.
Yes, I can definitely foresee this being a mess. You know how people clutch their pearls over microplastics? SLS powder is microplastic, factory made, in a bucket.
It would be a different story if we could get a metal-sintering SLS machine at this price point. Even if it could only do aluminum, that would change everything.
Yes, you can.
You can set up datum planes in arbitrary orientations but in all honesty, I’ve never bothered. You can position a sketch in any orientation, at any angle, at any position in 3D space. You are not confined to right angles of the X, Y, and Z axes.
Sketches used in a loft don’t even have to be oriented on the same plane relative to each other.
I can’t comment on other software since my experience with the commercial options is near-zero. However, specifically in FreeCAD you can do some incredibly tricksy things with sweeps and lofts. I’ve gotten a lot of mileage out of them.
You could create your shape there almost entirely with lofts. A loft takes two or more sketches and you can think of them like “keyframes” in 3D space. Typically you would stack them on top of each other at the specific locations you need, and at the location of each sketch the 3D solid have a cross section of exactly the shape and dimensions of that sketch, and then the shape will be interpolated in the space in between in various ways you can select. The dimensions of each sketch can, of course, be completely parametric and as dimensionally accurate as you need them to be.
The pocket tool is also extremely powerful if wielded creatively. You can knock holes of arbitrary shape and complexity through things, not just circles and hexagons, to any depth. You can create complex three dimensional curves by making a solid of some shape or another, and then making a pocket all the way through it at right angles or indeed any angle. Think of it kind of like a milling machine pass.
You’re not rewarded for maintaining or finishing products.
No kidding.
It is 2024, and here is your yearly reminder that you still can’t create a new folder/label in the official Gmail Android app despite the online documentation implying that you can.

 857·3 months ago
And like all of these novelty phones, it has no 5G support and extremely narrow 4G band support, which means this will be nearly worthless for users in North America. And it will quickly become even more worthless as carriers are actively discontinuing their existing 3G and 4G bands.
This’ll work great for most people who don’t want to actually use it as a phone. I.e. it’d make a killer media playback device, remote control, or tiny PDA.
I was interested in their Titan a while ago but it, like all of their phones, has the same problem. There is no sense whatsoever in buying a new phone in 2024 that has such piddling network support.
If you want an identical texture from the plate on both sides, you could split your model in two laterally and print both finished faces downwards against the plate, and then glue/screw/pin/otherwise attach the two halves together afterwards.
Doing this with an inlay for the two colors would be possible, i.e. with a filament change on the same layer. If your colored bit is a separate layer on top of the other stuff that plan won’t be possible.