
5·
2 days agoI am going to need your 50 point summary of those obvious points in the longest form possible by this afternoon so I can be completely convinced that I have already made up my mind in the correct way. Thanks.
I am going to need your 50 point summary of those obvious points in the longest form possible by this afternoon so I can be completely convinced that I have already made up my mind in the correct way. Thanks.

That sounds about right. QA is expensive and time consuming, so it’s left up to the customer. This applies to every single part in the supply chain.
If you want a set of mitsumi linear rails for real precision applications, it’s going to cost just as much or more than that printer.
This is not a “buyer beware” rant, but the buyer should know they aren’t paying for consistency or precision. I am basically saying that for these printers to work reliably and with proper precision, you need to tear them down yourself and inspect each bolt.
I buy cheap Chinese stuff all the time, but my process is to tear the product down and find where costs were cut and look for any serious dangers.
Svol is well known enough that you should be able to get replacement bits for free. Or not. It’s a crap shoot, TBH.
It was on old 3.5" drives a long time ago, before anything fancy was ever built into the drives. It was in a seriously rough working environment anyway, so we saw a lot of failed drives. If strange experiments didn’t work to get the things working, mainly for lulz, the next option was to see if a sledge hammer would fix the problem. Funny thing… that never worked either.
I used to take failed drives while they were powered on and kinda snap them really with a fast twisting motion in an attempt to get the arm to move or get the platters spinning.
It never worked.

Did you get bad sectors? Weird things can absolutely happen but having sectors marked as bad is on the exceptional side of weird.
Maybe? Bad cables are a thing, so it’s something to be aware of. USB latency, in rare cases, can cause problems but not so much in this application.
I haven’t looked into the exact ways that bad sectors are detected, but it probably hasn’t changed too much over the years. Needless to say, info here is just approximate.
However, marking a sector as bad generally happens at the firmware/controller level. I am guessing that a write is quickly followed by a verification, and if the controller sees an error, it will just remap that particular sector. If HDDs use any kind of parity checks per sector, a write test may not be needed.
Tools like CHKDSK likely step through each sector manually and perform read tests, or just tells the controller to perform whatever test it does on each sector.
OS level interference or bad cables are unlikely to cause the controller to mark a sector as bad, is my point. Now, if bad data gets written to disk because of a bad cable, the controller shouldn’t care. It just sees data and writes data. (That would be rare as well, but possible.)
What you will see is latency. USB can be magnitudes slower than SATA. Buffers and wait states are causing this because of the speed differences. This latency isn’t going to cause physical problems though.
My overall point is that there are several independent software and firmware layers that need to be completely broken for a SATA drive to erroneously mark a sector as bad due to a slow conversion cable. Sure, it could happen and that is why we have software that can attempt to repair bad sectors.

They can be, I suppose. However, the AI libraries that I was tinkering with seemed to all be based around Ubuntu and Nvidia. With Docker, GPU passthrough is much better under Linux and Nvidia.
WSL improved things a bit after I got an older GTX 1650. For my AMD GPU, ROCm support is (was?) garbage under Windows using either Docker or WSL. I don’t remember having much difficulty with Nvidia drivers though… I think there might have been some strange dependency problems I was able to work through though.
AMD GPU passthrough on Windows to Docker containers was a no-go. I remember that fairly clear though.
My apologies. It has been a few months since I messed with this stuff.
I had much better success using WSL, but I haven’t used it or even updated it in a long while. (I have been meaning to see how AMD GPU support has evolved over the last few months. Back in January’ish, AMD support was still bad.)
Anything that even is remotely Linux related is much easier to get working with WSL, btw. Almost all of my personal python stuff is running under it and it works great with VS Code
I just let it run without the resin vat and the RERF default print (with the characters) does actually trigger different exposures.
But yeah, the filename is super important as it triggers a test mode where the plate is exposed at 8 different spots at 8 different times per layer.
I’ll need to create my own test file and test it with and without the characters. It’s something I can test, but was hoping someone knew off the top of their head. (I was in the middle of my first ever resin print when I banged out this post, actually.)

If I remember correctly from the good ol’ days, promoted sites/ads kinda stopped after the first few pages and it skipped past most of the SEO crap.
But yeah, I forgot how aggressive Google is with ads and AI now, those bastards.
It’s actually a good change, IMHO. You can just click directly on page 10 for anything that might be related to your original search.
Quick addendum: Cheap digital hygrometers from Amazon can be off by as much as 10% or more and are kinda pointless, poorly designed and a waste of batteries.
Simply using some color changing desiccant will save you a few bucks. (It’s something I use here in Colorado for my jars of… “entertainment products”… that is legal here, in addition to my filaments.)
There is desiccant available that is formulated to hold specific humidity levels but filament is better served by pure silica gel.
To be fair, some of their contests are not thought out very well and usually don’t have enough constraints defined. (It’s kinda pissed me off before too.)
I started to design one myself but realized it was a bad idea. For starters, and effective design wouldn’t use much plastic: Bamboo or other kinds of material used for the tubes already stack together really well and it is much easier to stack them in a box glued together or use thin wire to bind them. Any additional design components translates to waste, IMHO.
And like you said, the plastic is bad to keep outside. If it wasn’t for the moisture, direct sunlight would deform most common materials.
It’s been around for a while. It’s the fluff and the parlor tricks that need to die. AI has never been magic and it’s still a long way off before it’s actually intelligent.
Just isolate the problem, is the rule of thumb. If you can replicate the issue reliably, it’s fixable. At worst, it limits the number of variables you are working with, which is still awesome in its own way.
My only other thought would be a bizarre stepper motor skip, which would lead me to start checking wiring and such.
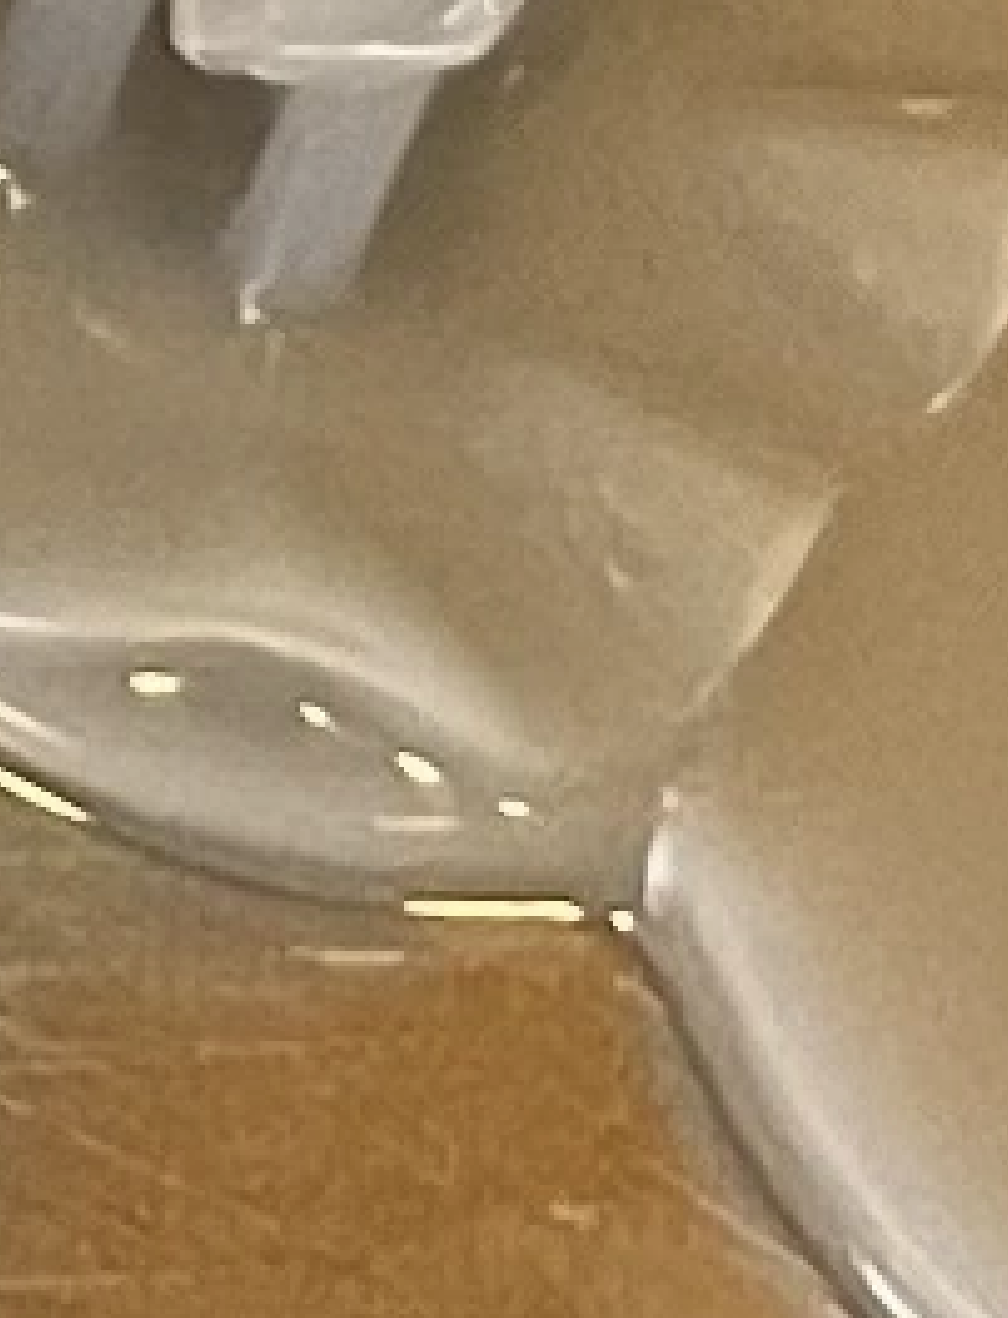
I don’t resin print, but it looks like there is a missing layer or two. The ripples in the interface layers at the bed were confusing me at first, but that seems like it they were formed in the resin not being attached to anything. The rest of the print is failing at the same layers of those strange ripples.
My guess would be a mechanical issue with the main Z screw, like there is something in that part of the thread that is causing it to lift a bit higher than it should. If it was completely loose, the rest of the print wouldn’t be viable.
Clean the threads of the screw and try to replicate that error at those layers with a test print. Isolate the problem, is my advice.
This part is really funky:

Medvedev has been hitting the bottle again, it seems.
Nothing he says is to be taken seriously and it wasn’t worth the time to write article about another one of his bizarre rants.
On the other hand, drunks tend to listen to other drunks and there is no shortage of vodka in Russia…
Are you in their buyable models section? They recently opened up a way for creators to sell models.
Absolutely. Unless a person wants to spend thousands of dollars on push button solutions that cover every imaginable use case, customization is the way to go.
For solid machines, the customer should already have an idea about what parts need to be modified. If a machine was advertised to mill a widget at +/-20% tolerance, cool. If you want to spend $500 more on a custom pully to get withing 5%, awesome. Precision is expensive and customization is niche.
For cheap machines, everything is generally ravaged by bean counters at every level of design and manufacturing. As long as people understand this and can make repairs, that is sometimes OK.
While I feel OPs pain of finding a 2¢ part that was 0.3mm off center, I can only just shrug it off. A pseudo-premium 5¢ part or building a jig for a worker to test each gear would have been quite expensive and it would probably tack on $2-$5 to the end product price. ($2-$5 actually matters on sites like Amazon or Temu and could potentially cost thousands in lost sales due to product placement.)